
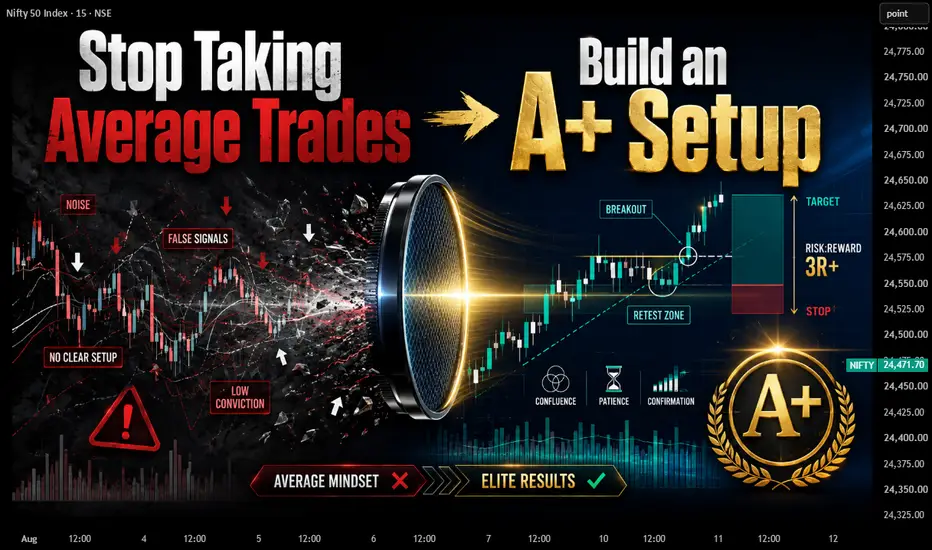
📊 Building an A+ Setup Checklist
Many traders enter because the market is moving. But movement alone does not make a good setup.
An A+ setup appears when the most important parts of your trading system align together.
The purpose of a checklist is simple:
Take fewer random trades and focus on your best opportunities.
---------------------------------
📊 What Makes an A+ Setup?
A strong setup may include:
• Higher-time-frame bias
• Clear market structure
• Good entry location
• VWAP alignment
• Volume confirmation
• Momentum or displacement
• Clean breakout / retest
• Logical stop-loss
• Enough room to target
• Option premium or OI confirmation
One factor alone is not enough. A+ quality comes from alignment.
---------------------------------
📊 Start With Structure
Before entering, ask:
• Is the market trending or ranging?
• Are we making higher highs / higher lows?
• Are we making lower highs / lower lows?
• Has structure broken?
• Is price near a meaningful level?
A trade without clear structure should usually lose points.
---------------------------------
📊 Entry Location Matters
Better locations include:
• Support / resistance
• Breakout retest
• VWAP
• Demand / supply zone
• Previous day high or low
• Liquidity sweep area
Avoid entries:
• In the middle of a range
• After an extended candle
• Directly into resistance or support
A good setup from a poor location can become a poor trade.
---------------------------------
📊 Confirmation Builds Quality
For an A+ setup, look for confirmation such as:
✅ VWAP alignment
✅ Volume expansion
✅ Strong displacement
✅ Price acceptance
✅ Liquidity sweep + reclaim
✅ Clean retest
✅ Premium strength
The more independent factors agree, the stronger the setup becomes.
---------------------------------
📊 Always Check Room to Target
Before entering, ask:
“Where is the next major opposing level?”
A bullish setup may fail to offer good reward if resistance is directly above.
A bearish setup may have poor reward if support is too close.
Do not take a trade only because the entry looks good. Check whether the trade has room to work.
---------------------------------
📊 Risk Is Part of the Setup
An A+ setup must have:
• Clear invalidation
• Logical stop-loss
• Acceptable position size
• Good risk-to-reward
Do not tighten the stop only to improve R:R.
First find where the trade idea becomes invalid, then calculate the reward.
---------------------------------
📊 Option Traders Need One More Layer
For CE/PE trades, confirm both:
Underlying chart:
• Structure
• VWAP
• Volume
• Breakout / breakdown
• Invalidation
Option chart:
• Premium strength
• Liquidity
• Swing structure
• Volume
• No excessive premium extension
The underlying gives the idea. The premium confirms the instrument.
---------------------------------
📊 Use a Simple Scoring System
Example:
• Higher-time-frame bias
• Structure
• Entry location
• VWAP
• Volume
• Momentum
• Liquidity sweep
• Retest quality
• Room to target
• Option / OI confirmation
Possible classification:
85–100 = A+
70–84 = A
55–69 = B
Below 55 = Avoid
The exact weights should match your own strategy.
---------------------------------
📊 Mandatory Rules ⚠️
Some conditions should not be optional.
For example:
• Valid market regime
• Clear structure
• Defined invalidation
• Enough room to target
• No repeated failed setup
If a critical condition fails, skip the trade even if other confirmations look good.
---------------------------------
📊 Simple Formula
Structure + Location + Confirmation + Risk + Room to Target
= A+ Setup
But:
Momentum + FOMO + Poor Location + No Risk Plan
= Low-Quality Trade
---------------------------------
📊 Finally, the important point to note is:
An A+ checklist does not guarantee a winning trade.
It helps you consistently select your highest-quality opportunities.
Do not ask:
“Can this trade work?”
Ask:
“Does this trade meet the rules of my best setup?”
Trade selection is more important than trade frequency.
---------------------------------
Educational Purpose Only.

⭐For Live Trading Courses And Trading Community 📈
Contact ⬇️
📱wa.me/919322295961
📱telegram.me/investyourasset1
⭐Advanced courses
⭐Fully Automated Algo Trading
⭐Daily F&O Trade tips
📱 telegram.me/investyourasset1
Contact ⬇️
📱wa.me/919322295961
📱telegram.me/investyourasset1
⭐Advanced courses
⭐Fully Automated Algo Trading
⭐Daily F&O Trade tips
📱 telegram.me/investyourasset1
Related publications
Disclaimer
The information and publications are not meant to be, and do not constitute, financial, investment, trading, or other types of advice or recommendations supplied or endorsed by TradingView. Read more in the Terms of Use.