Manage alerts
In the Alerts Manager, you can browse and edit your alerts.

You can customize it by choosing the alert view. Click on the Settings button and unmark points in the Customize list that you don't want to see:

Alerts can be sorted by Ticker, Name, Message, Date created or Time triggering. Click on the Sorting button and select your preferred order.

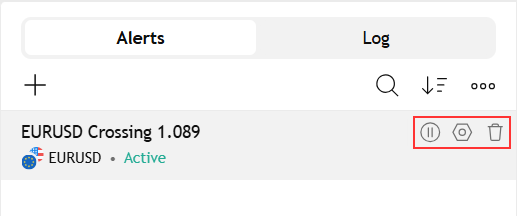
Use the control keys in the list to stop, resume, edit, or delete alerts.

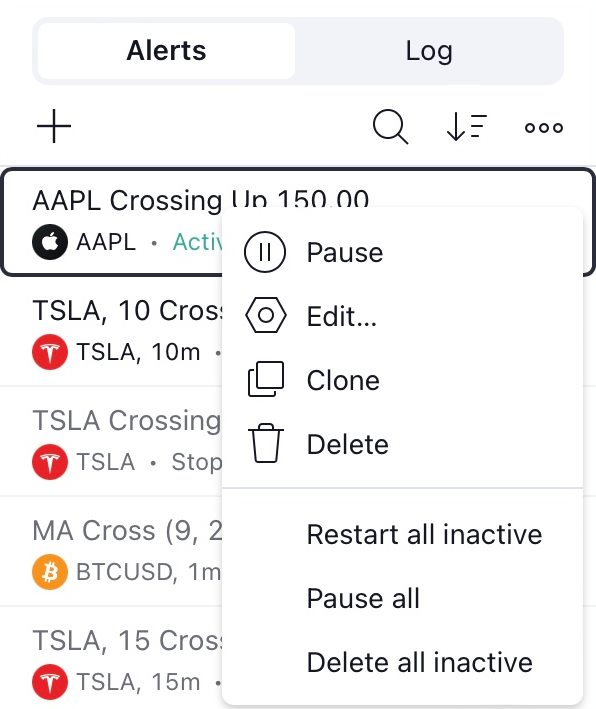
Right-clicking on alert (long tap on mobile devices) will open the context menu with the same options:

Below each alert, you can see the status and the reason of an alert stop:
- an active alert has a green Active status;
- a triggered alert with Only once setting has an orange Stopped — Triggered status;
- a manually disabled has a gray Stopped manually;
- expired alert has a red Stopped — Expired status.

Double-click an alert to open its Edit menu.
Click in the Manager and use the arrows keyboard buttons or Space bar to move between alerts.
After creating an alert, a mark specifying its level (except Moving alerts), will appear on the chart. Hover your cursor over the mark to see a tooltip with a description.

Double-click the mark to see the Alert Edit menu.
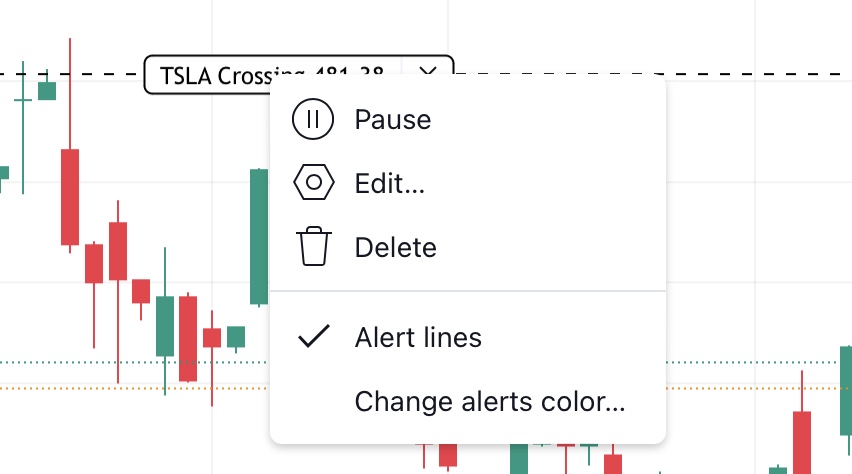
Right-click the mark to add or delete an extended alert line.

You can also edit the alert value by simply dragging the label to where you want it. Just move it to the desired place on the chart and the new value will automatically be applied in the Edit dialog window.
When the alert is triggered, the corresponding label will start blinking on the chart.
All triggered alerts are automatically added into Alerts Log and you can access your alert history anytime. Click in the Log and use the arrows keyboard buttons or Space bar to move between triggered alerts.
You can customize log list or export it to a CSV file. Click on the Options button to get the menu with all available options.
